Viewing List of LMS Users
Effectively managing and accessing the list of users in your Learning Management System (LMS) is crucial for administration and monitoring purposes. This guide provides step-by-step instructions on how to view the list of LMS users, apply filters, perform searches, and export data.
1. Accessing the User List:
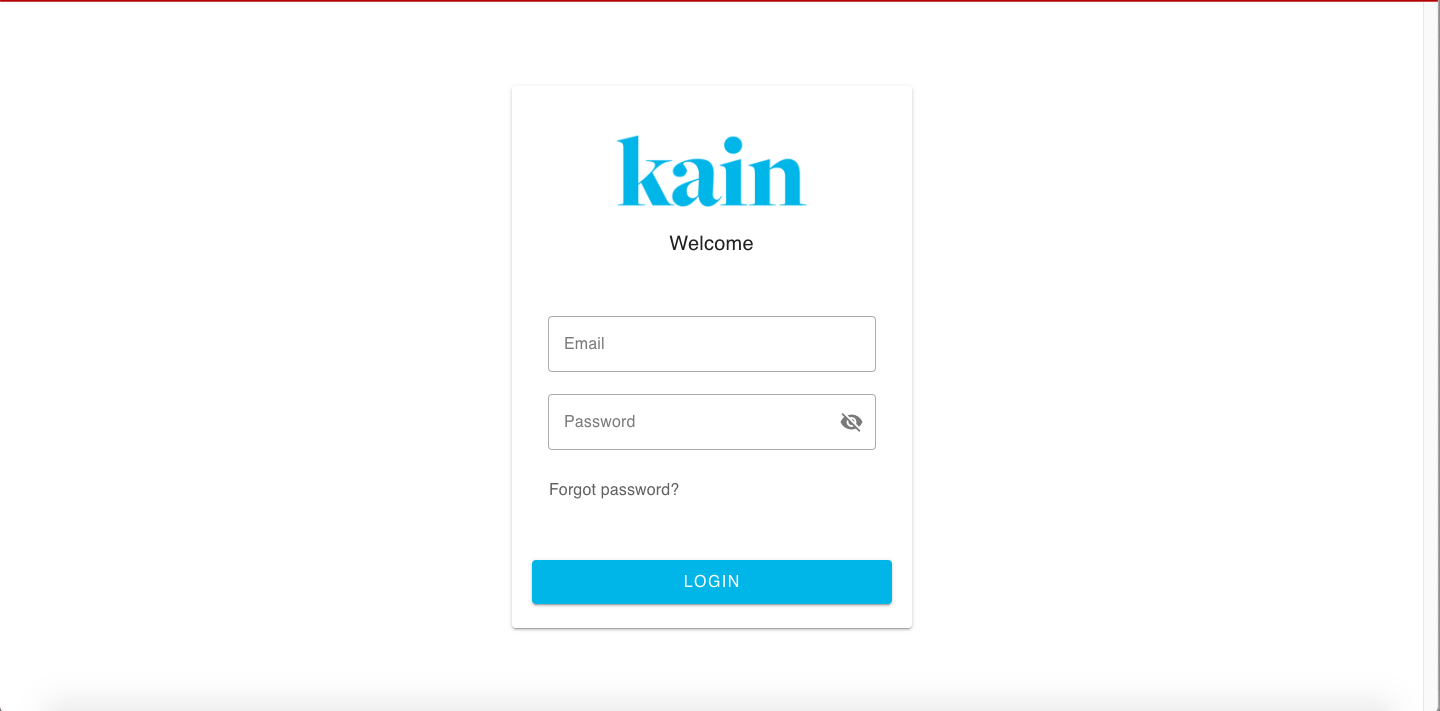
Step 1: Log In to Your LMS Account
Open your web browser and navigate to the LMS website.
Enter your login credentials (username and password) to access your account.
Step 2: Navigate to User Management Section
Once logged in, locate the “Admin Portal” section on the top navigation bar of the LMS dashboard.
On the dropdown menu, click on “Manage Users”.
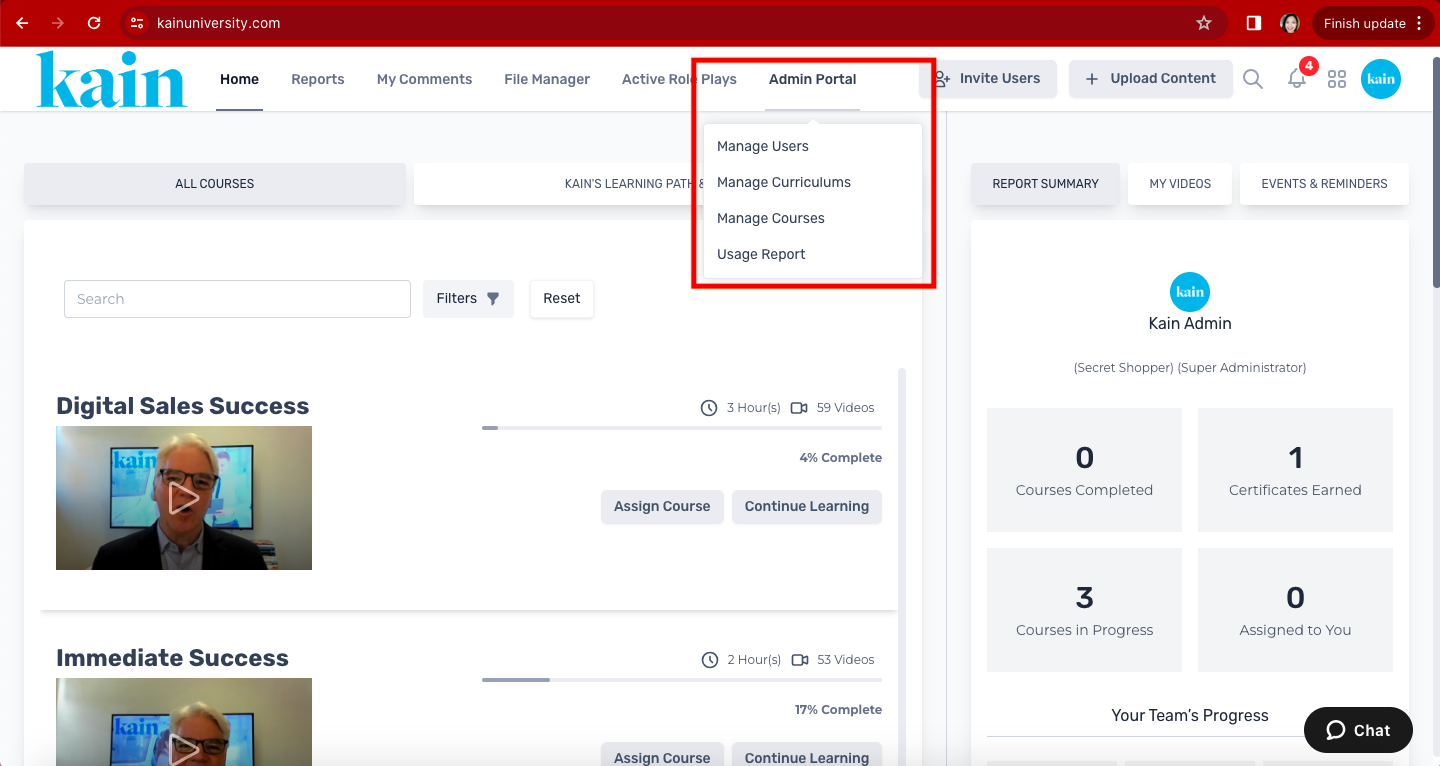
A new tab will open to the User List Interface.
2. Applying Filters:
Step 3: Choose Filtering Options
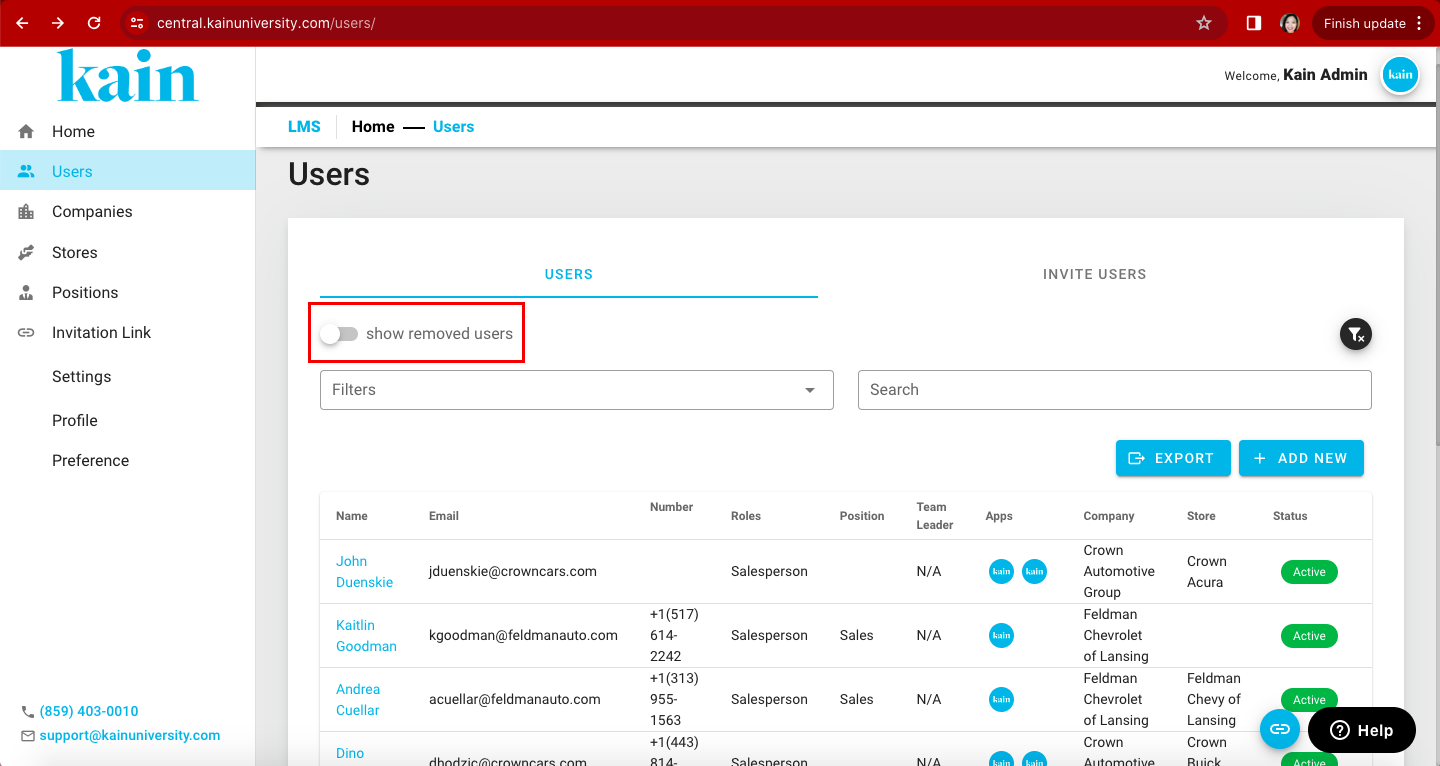
Look for options to filter users by Company, Stores, Role, Status, Positions, and Team Leader. Sub-filters are also available to narrow down the results further.

Select the desired filters based on your requirements.
Step 4: Toggle "Show Removed Users" On/Off
You can use the option to toggle the display of removed users on and off, depending on your preference.
3. Searching for Specific Users:
Step 5: Utilize the Search Bar
Locate the search bar within the user list interface.
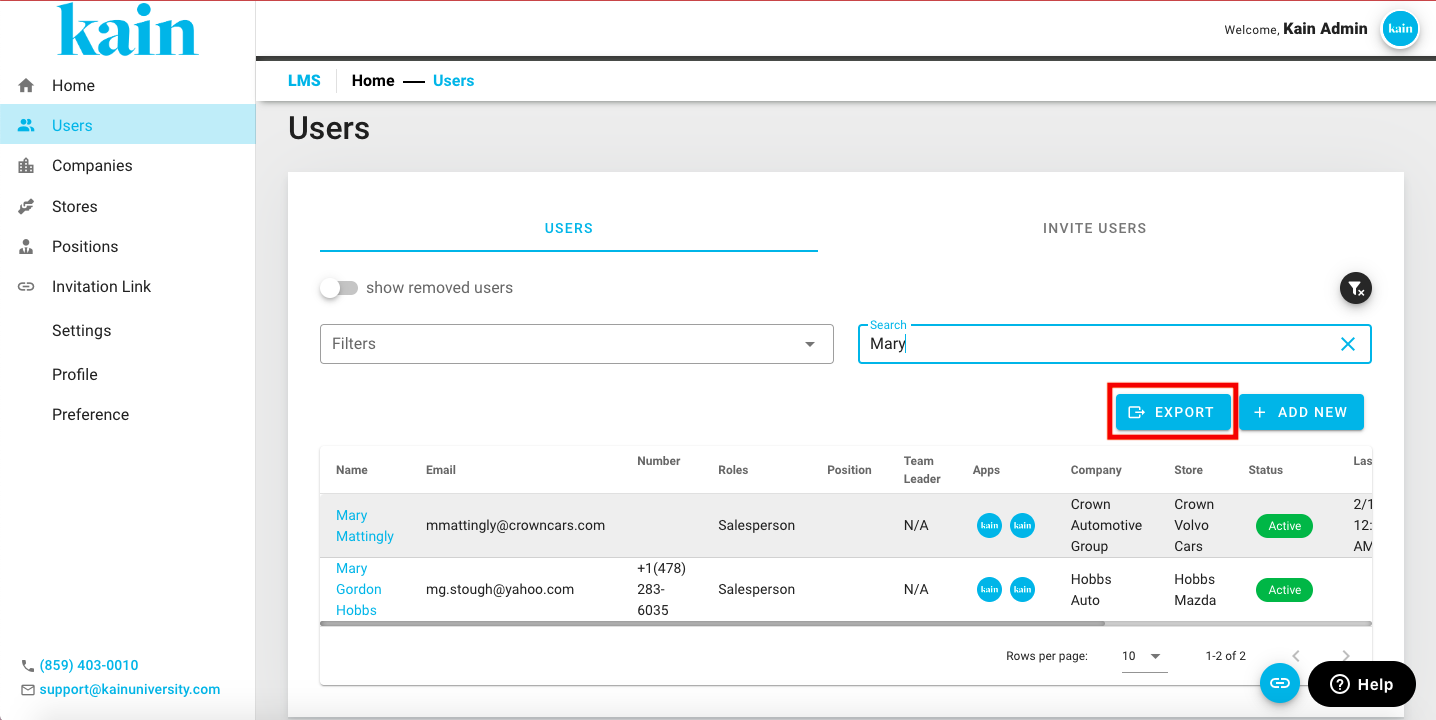
Enter the name of the user you want to find.

The list will dynamically update to display relevant results.
4. Exporting Data:
Step 6: Export User Data
Locate and click on the “Export” button.
Step 7: Enter Email Addresses for Export
On the pop-up box, enter the email address/es you wish to send the User Data.
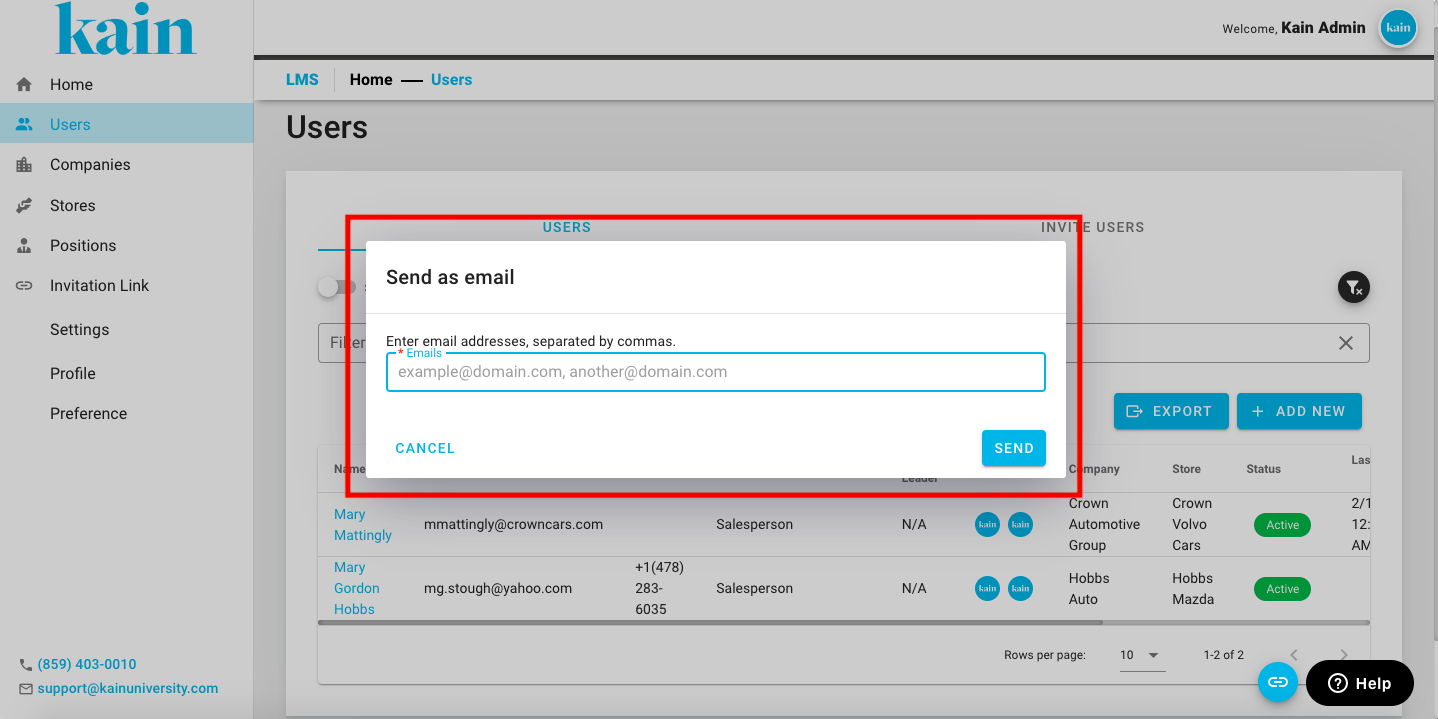
Separate each email address with a comma.
Step 8: Confirm and Send
Confirm the export settings and click the "Send"
Check your email for the exported .csv file.