Adding New Users
This is a guide on how to add new users to your LMS, ensuring that individuals can access relevant courses and resources.
Step 1: Navigate to User Management Section
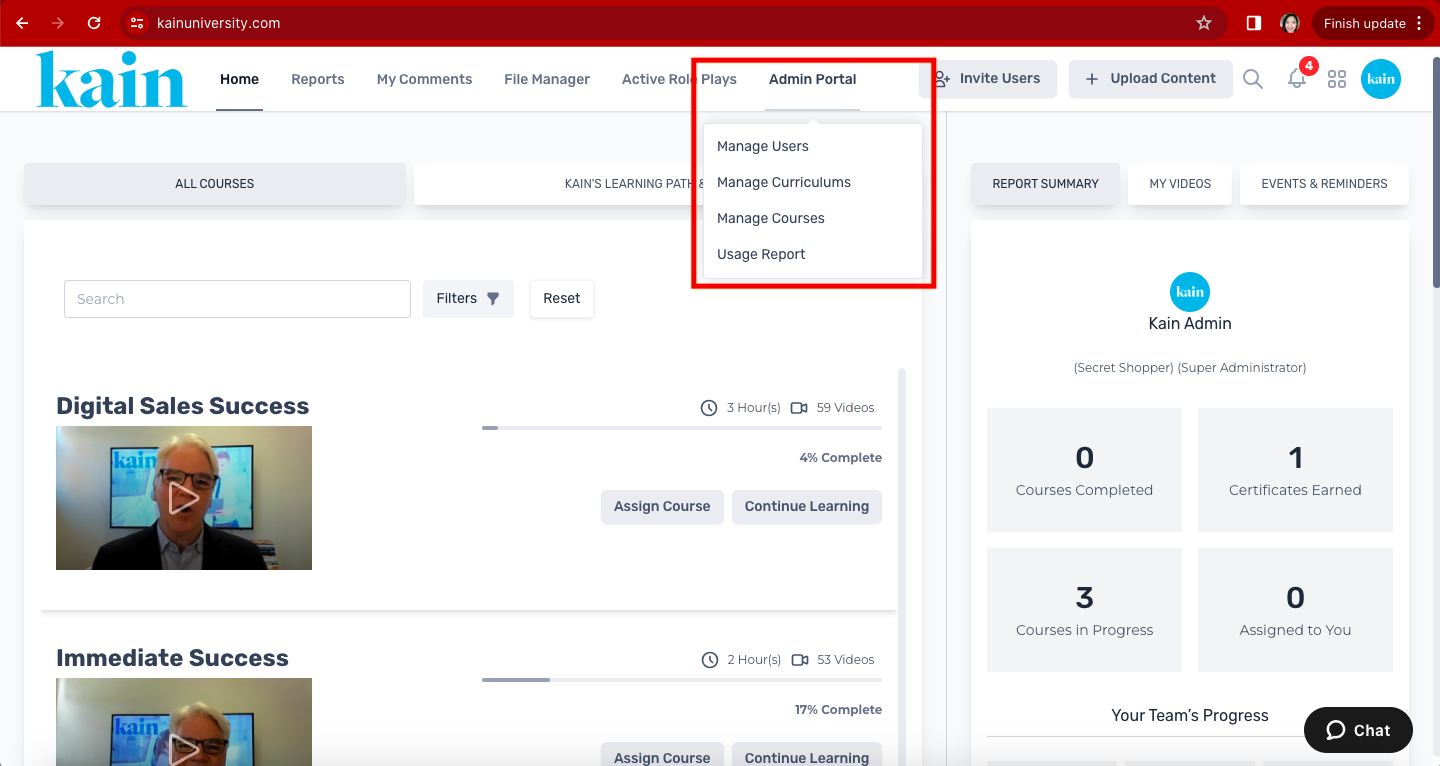
Once logged in, locate the “Admin Portal” section on the top navigation bar of the LMS dashboard.
On the dropdown menu, click on “Manage Users”.
A new tab will open to the User List Interface.
Step 2: Add New User
On the User Management Interface, click on the “+ Add New” button initiate the user creation process.

Step 3: Fill in User Details
Click on the “Upload Avatar” button and select an image file from your computer.

Enter required information for the new user, including:
Username
Email
Phone Number
Status
Company
Store
Position
Team Leader

Step 6: Specify User Roles
Choose the role and permissions for the new user based on their responsibilities and access requirements, like:
Super Administrator
Company Admin
Sales Person
Secret Shopper
.png "Role(1).png")
Step 7: Optional: Toggle Notification Settings
Tick the box for the “Opt-out from email notification” option.

Step 8: Save and Confirm
Review the information you entered.
Click the “Submit” button.