Creating a Course in a Curriculum
Step 1: Access the Admin Portal
Log in to your LMS account and navigate to the Admin Portal section.

Step 2: Choose "Manage Curriculums"
From the dropdown menu on the Admin Portal, select "Manage Curriculums."

Step 3: Locate the Curriculum
On the Curriculum Management page, find the curriculum you wish to edit. Utilize the search box by entering the curriculum name or scroll down to locate it.
Click on the “kebab menu” (three dots) next to the curriculum you want to edit.
On the dropdown menu, click on “Manage Courses”.

Step 4: Create a New Course
Within the Manage Courses page, click on the “Create” button to initiate the process of generating a new course.
Enter the course details in the provided fields. Include essential information such as:
Title: Provide a meaningful title for the new course.
Brief Description: Add a concise description of the course content.
Settings: Configure additional settings like draft mode, categories, and assignments.
Click the “Continue” button to proceed to the next step.
Step 5: Set Thumbnail Photo (Optional)
On the next page, set a thumbnail photo for the course by following the prompts to drag and drop an image or browse your computer.
Click the “Save Course” button.
Step 6: Set Course Pricing (Optional)
Determine whether the course will be Free or Paid.
If creating a Paid Course, enter pricing details in the corresponding boxes.
Step 7: Create Modules
Modules are a set of Units (videos) for a specific topic in your Course. Here’s how you can create new modules:
Locate and the three-dot icon on the right side of the Course you’ve created.
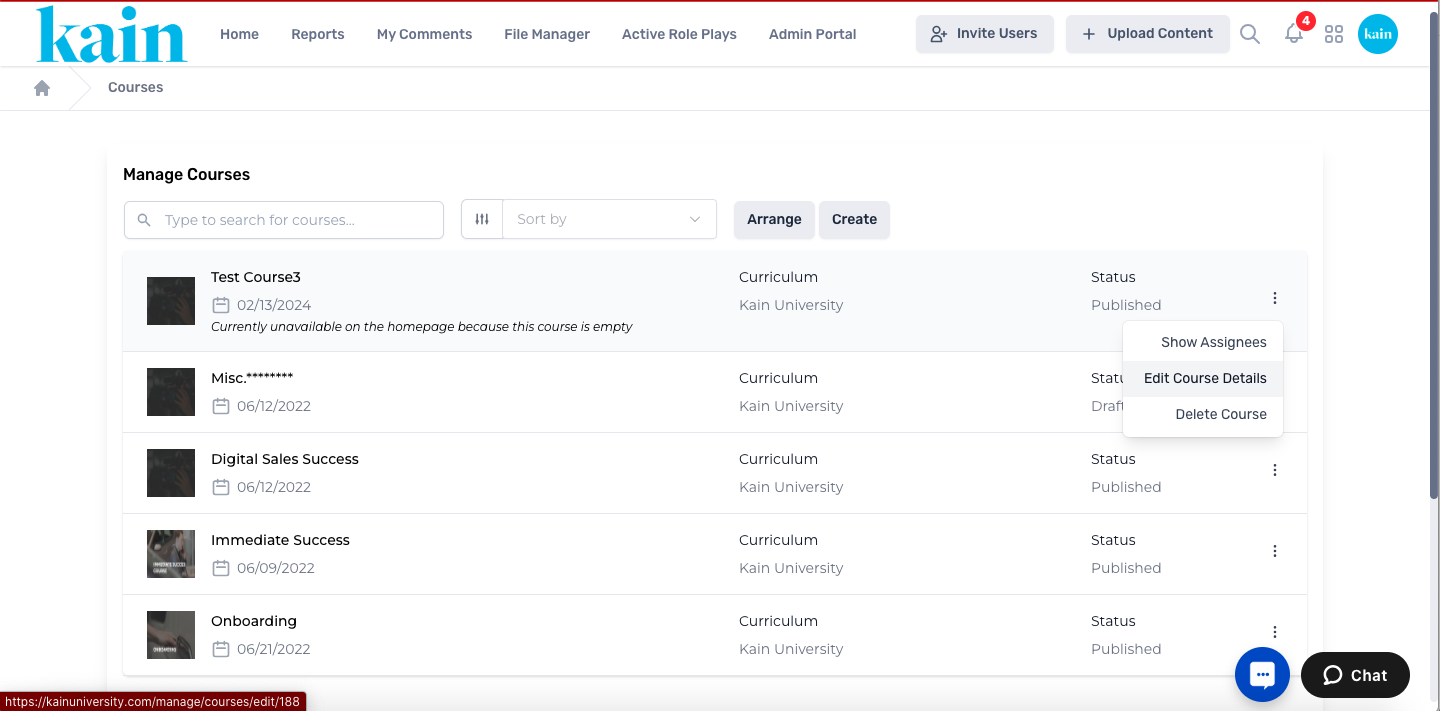
Click on “Edit Course Details”.
On the next page, locate the “Add Module” button on the right hand side of the screen.
Enter the Name of the Module and a short Description on the box provided.
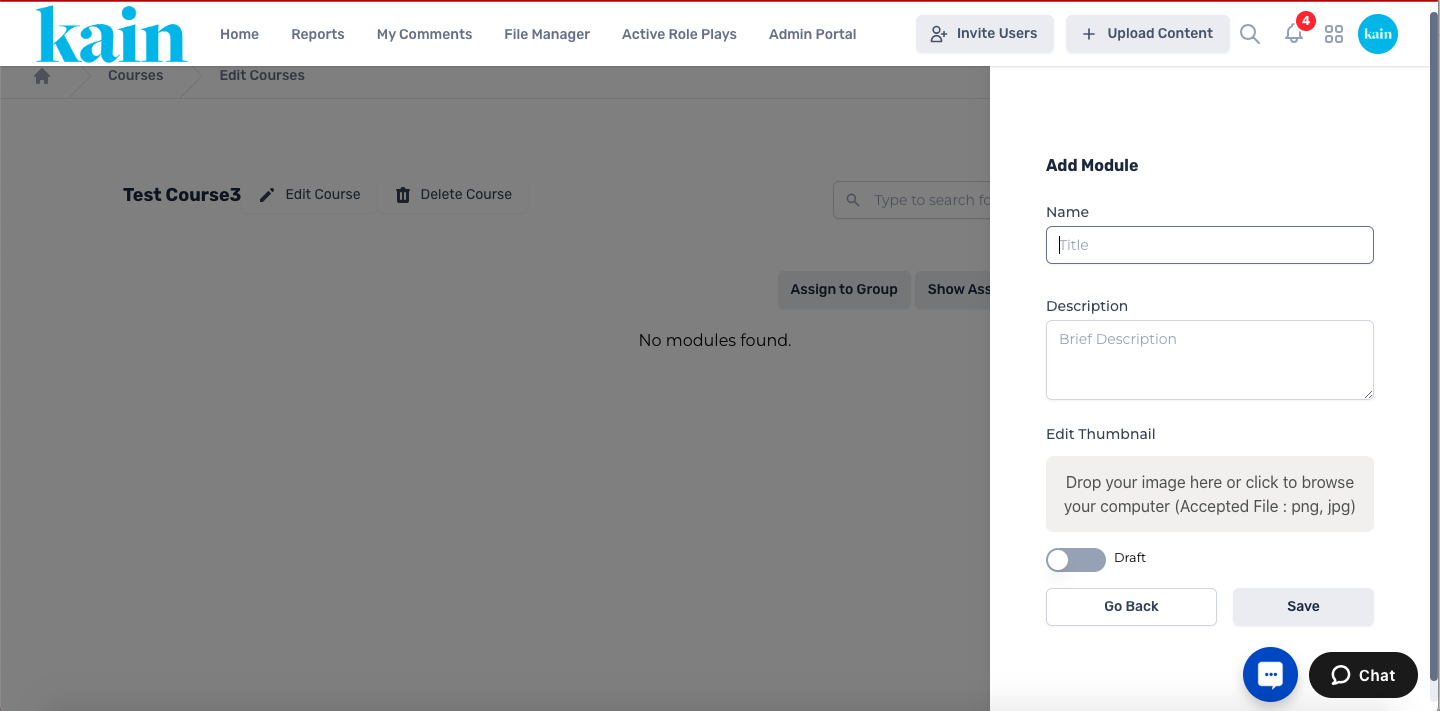
You can choose to set the Module to draft mode by clicking on the “Draft” button. If you choose this, it will not be visible on the Dashboard.
Set a thumbnail photo for your Module. Follow the prompt to either drag and drop am image or browse your computer to set the thumbnail.
Click on the “Save ” button located on the lower right hand side of the window.
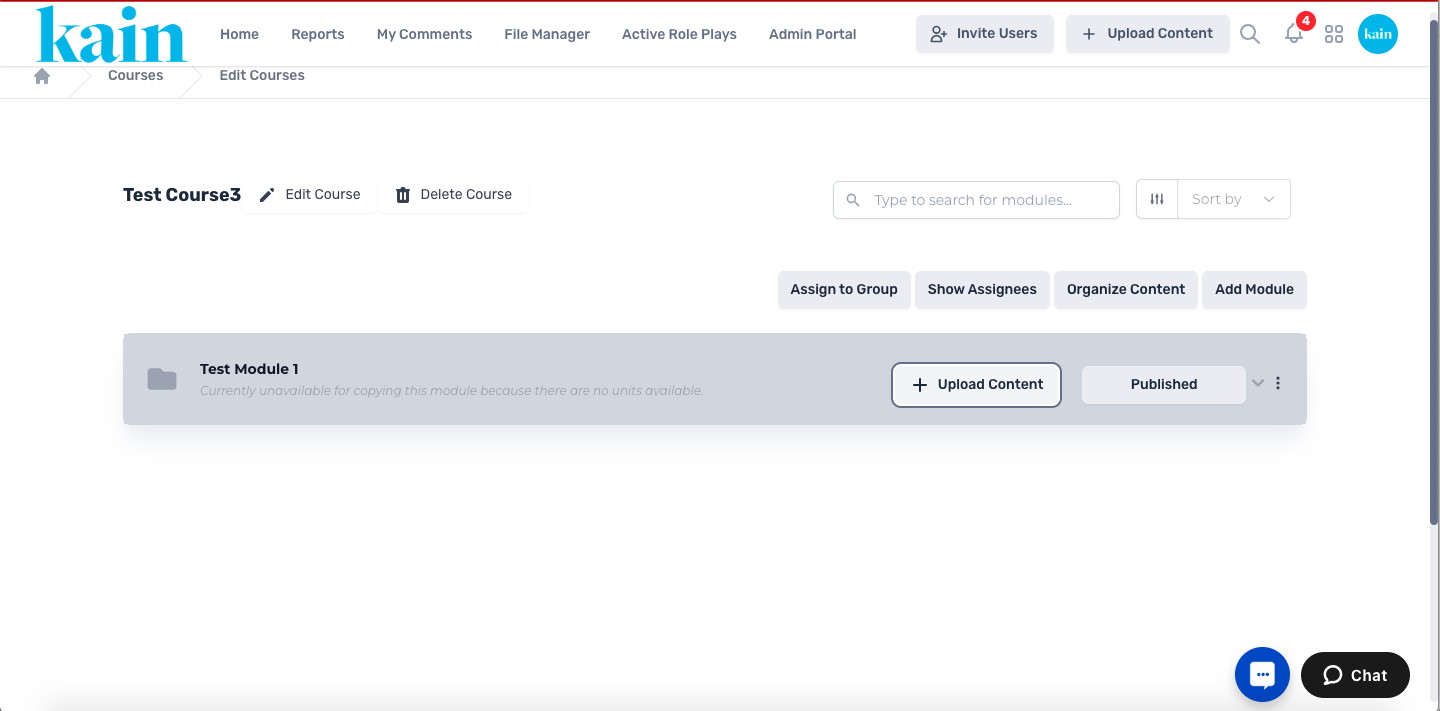
Repeat the steps above to create the necessary Modules for your Course.
Step 8: Create Units
Units are individual videos or Text/PDF files under each Module. Here’s how you can create them:
On the right hand side of each Module, locate and click on the “Upload Content” button.
On the pop-up window, enter the Unit Name.
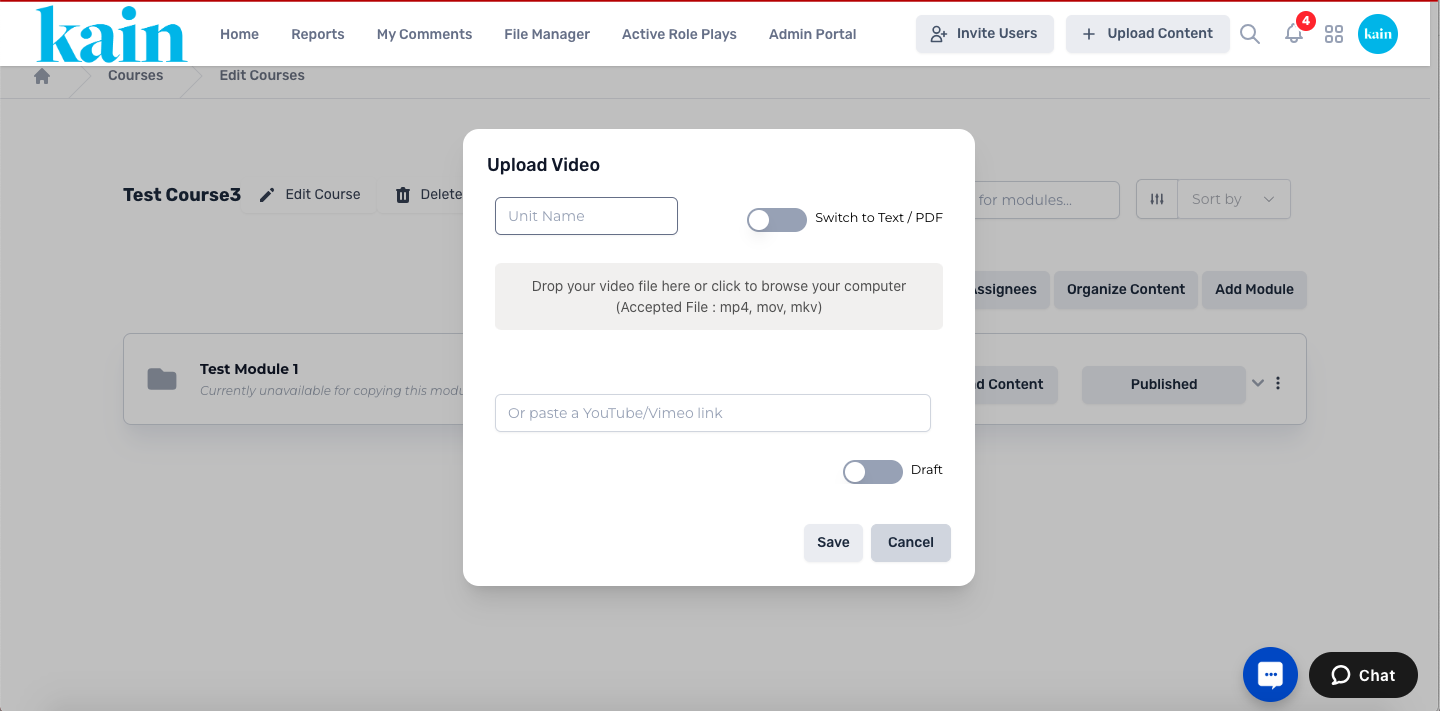
Drag and drop a video file from your computer or click the grey box to browse your computer for the file. Accepted files are MPF, MOV, and MKV.
If you wish to upload a PDF file or enter plain text, click on the “Switch to Text / PDF” button.

Click on the “Upload PDF File” button or enter the text on the box provided.
If you wish, you can set the Unit to draft by clicking on the “Draft” button.
Click on the the “Save” button on the bottom of the window. You will be redirected to a new page where you can enter details for each Unit.
Step 9: Unit Details
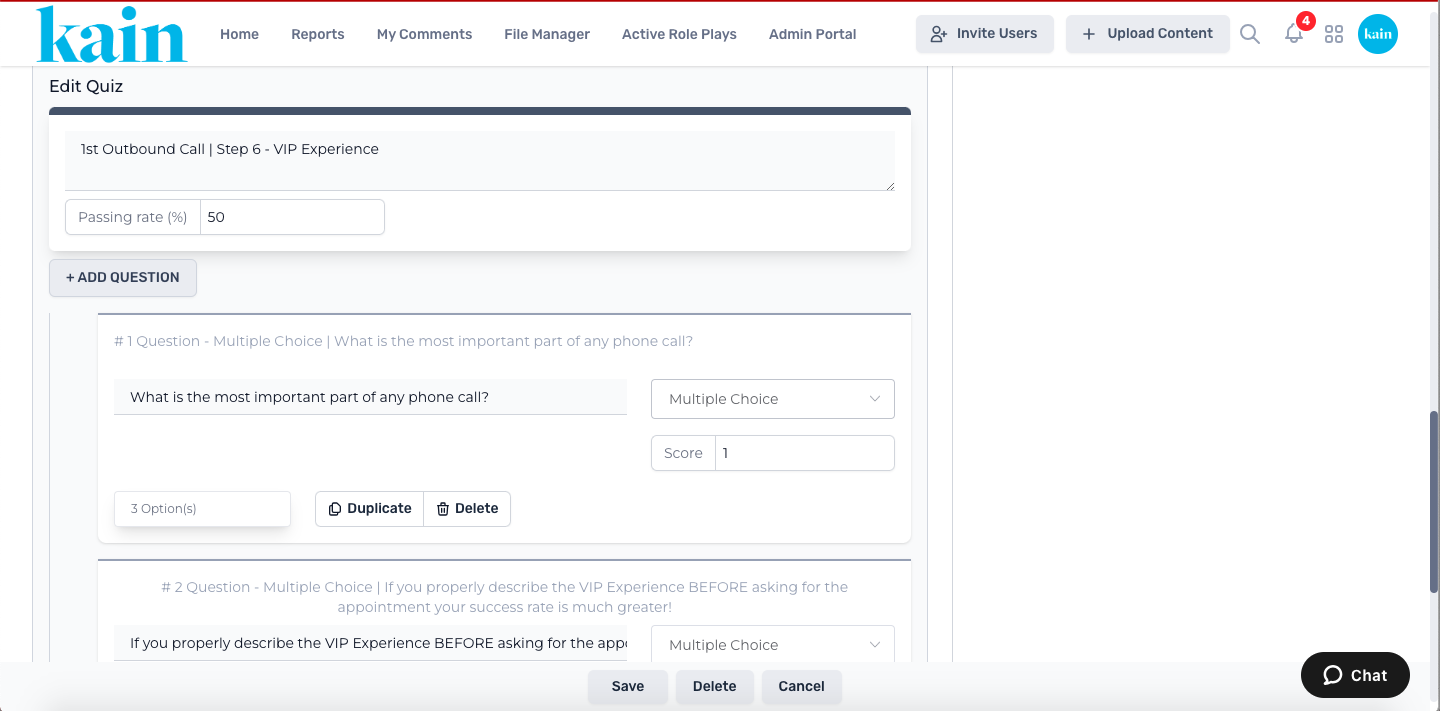
On the left hand side of the screen, fill in the required details for the new Unit (e.g., Unit Name, Status, Description, Tags, Related Resources, and a Quiz for the Unit)
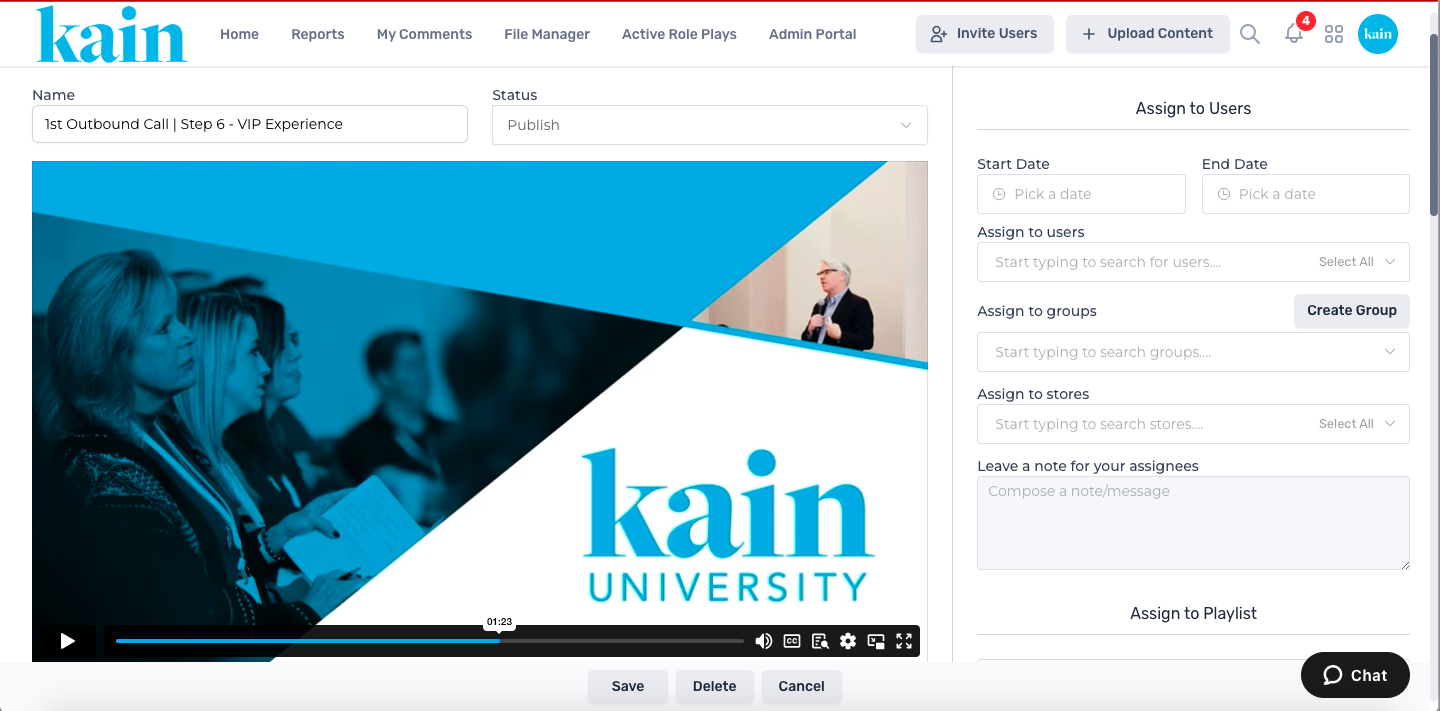
On the right hand side of the screen, configure additional settings (e.g., Start/End dates, Users, Groups, or Stores to assign the Unit). You can also assign the Unit to a Playlist and/or add it to a specific Course or Module.
Click on the “Save” button on the bottom part of the screen.Step